Arris router settings may seem like an inconvenient thing to some people. Not everyone is a tech geek and understands the complications of Arris router settings.
In this article, we will cover all the aspects of Arris router settings.
From setup and configuration to different features and aspects of the Arris router, you will find all your answers regarding your Arris router settings in this article.
Before reading more about the Arris router settings, let’s have a brief overview of Arris routers and why you should buy them.
Navigate To:
Arris Routers
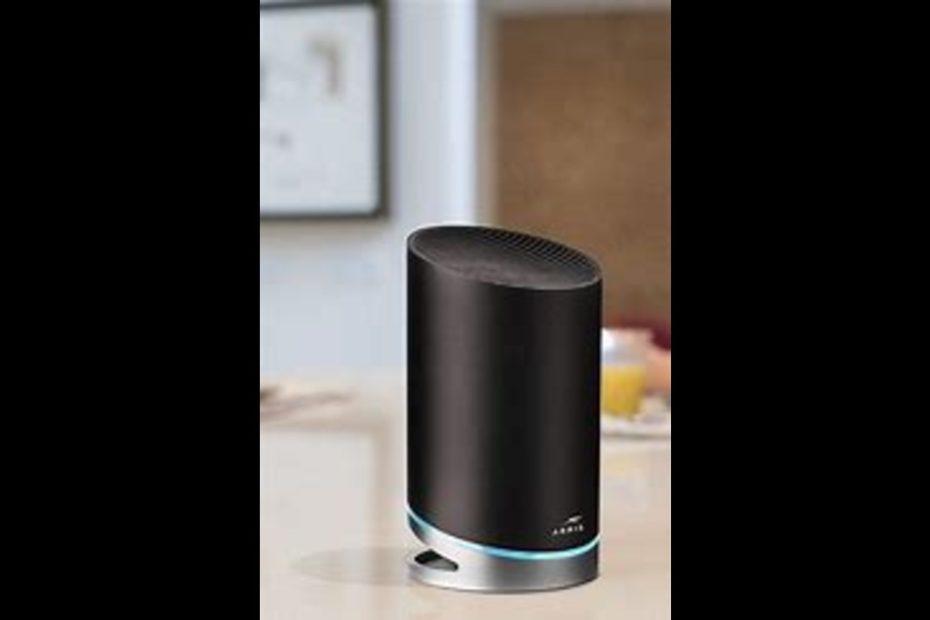
Arris routers are high-performance networking devices that are designed to provide fast and reliable connectivity to homes and businesses. They are built with advanced technology and offer a wide range of features, making them a popular choice for internet users. Here are some reasons why a person should consider buying an Arris router:
- Fast and Reliable Connectivity: Arris routers are designed to deliver high-speed internet connectivity with minimal interruptions. They use advanced technology such as beamforming and MU-MIMO to ensure that devices receive strong and stable signals throughout the network.
- Wide Range of Features: Arris routers come with a wide range of features, such as parental controls, guest networks, and quality of service (QoS) settings. These features allow users to customize their network according to their needs and preferences.
- Easy to Set Up and Manage: Arris routers are easy to set up and manage, thanks to their intuitive web-based interface. Users can easily configure their network settings, manage their devices, and monitor their network performance from anywhere using a mobile app.
- Compatible with Multiple Devices: Arris routers are designed to be compatible with a wide range of devices, including smartphones, laptops, tablets, and smart home devices. This makes them a great choice for households with multiple devices.
- Cost-Effective: Arris routers offer great value for their price. They are competitively priced and provide advanced features and performance that are typically found in more expensive routers.
Impressed? I recommend you read more about Arris routers but stay cautious or you may find yourself clicking “order now” as these routers and their performances are sure to blow your mind.


Arris G36 Review (DOCSIS 3.1 + WiFi 6 AX3000): Best modem router? – Compatible Gear
Best Router For Arris Surfboard (Sb8200, Sb6190, S33, Tm1602 And Sb6183) – Compatible Gear
Best Wifi Extender For Arris Router – Compatible Gear
Anyway, back to why you clicked on this article: Arris router settings.
Arris Router Settings
Arris routers come with a range of settings that allow users to customize their network according to their specific needs and preferences. Understanding these settings can help you get the most out of your router and improve your internet experience. Here are three important Arris router settings to consider:
- Quality of Service (QoS): QoS is a feature that allows you to prioritize certain types of traffic on your network. For example, you can prioritize video streaming over web browsing to ensure that your video streams smoothly without interruptions. With QoS, you can also limit bandwidth usage for certain devices or applications to prevent them from hogging all the available bandwidth. This can be particularly useful in households with multiple devices or when you have limited internet bandwidth.
- Guest Network: A guest network is a separate network that allows visitors to connect to the internet without accessing your main network. This is a useful security feature that can prevent unauthorized access to your devices and data. Guests can access the internet through a separate network name and password, and their devices are isolated from your main network. This can also help improve network performance by reducing the number of devices connected to your main network.
- Parental Controls: Parental controls allow you to restrict access to certain websites or applications on your network. This is particularly useful for parents who want to limit their children’s access to inappropriate content or prevent them from spending too much time online. With parental controls, you can set time limits, block specific websites or applications, and even monitor your child’s online activity. This can help promote a safe and healthy internet experience for your family.
Before we discuss these settings in more detail, let me tell you how to set up your Arris router.
How to set up Arris router?
So you just bought your new Arris router? Well, congrats on making such a good decision. But the next step might have you searching the internet for answers; setting up the Arris router.
Setting up your new Arris router may seem daunting at first, but fear not, it’s easier than you think! With a little bit of patience and a willingness to learn, you’ll have your router up and running in no time. So sit back, relax, and let’s dive into the world of Arris routers.
So, how to set up Arris Router?
The answer is a bit long but easy. So stick around and find out how to set up your Arris router in these 6 easy steps:
Unbox Your Router
The first step in setting up your Arris router is to unbox it and make sure all the parts are there. You should have the router, power cord, Ethernet cable, and a quick start guide.
Connect Your Router
Next, you’ll need to connect your router. Plug in the power cord and connect one end of the Ethernet cable to your modem and the other end to the WAN port on the back of the router. Once everything is connected, turn on the router and wait for the lights to turn on. This might take a few minutes, so be patient.
Access Your Router’s Settings
Now that your router is connected, you’ll need to access its settings to configure it. To do this, open up your web browser and type in either “192.168.0.1” or “192.168.1.1” in the address bar. This will take you to the router login page.
Log in to Your Router
On the router login page, you’ll be prompted to enter a username and password. By default, the username and password are both “admin” (without the quotes). If you’ve changed the username and password in the past, enter the new ones here.
Configure Your Router
Once you’ve logged in, you’ll be taken to the router’s settings page. From here, you can customize your router’s settings according to your preferences. Some of the settings you might want to change include:
Network Name (SSID): This is the name of your Wi-Fi network. You can change it to something more personalized, like “The Smiths’ Network”.
Network Password: This is the password that people will need to enter in order to connect to your Wi-Fi network. You should choose a strong password to prevent unauthorized access.
Security Settings: You can choose from several different security protocols to protect your network from hackers and other threats.
Guest Network: If you want to give your guests access to your Wi-Fi network without giving them access to your main network, you can set up a separate guest network. This is a great way to keep your network secure while still being hospitable to your guests.
Parental Controls: If you have children, you can use the parental controls feature to restrict their access to certain websites and applications.
Connect Your Devices
Once you’ve configured your router’s settings, you can start connecting your devices to your Wi-Fi network. To do this, go to your device’s Wi-Fi settings, select your network name (SSID), and enter your network password.
That’s it! With these steps, you should have your Arris router up and running smoothly. If you run into any issues, consult the router’s manual or contact customer support for assistance.
See? That’s it! Shouldn’t take too long.
Well, that was all about setting up an Arris Router. Now let’s talk about the rest of Arris router settings that you can use to optimize your networking experience.
Other Arris Router Settings:
Let’s optimize your network for your specific needs by using the various Arris Router Settings
Network Name (SSID)
The Network Name (SSID) is the name of your Wi-Fi network. By default, the SSID is set to the name of the router manufacturer, but you can change it to something more personalized. This is useful if you have multiple Wi-Fi networks in your area, as it helps you identify your own network. To change the SSID, log in to your router’s settings page, go to the Wireless Settings section, and look for the SSID field. Type in your desired name, and click on “Save” or “Apply” to save the changes.
Network Password
The Network Password is the password that people need to enter in order to connect to your Wi-Fi network. It is important to choose a strong password to prevent unauthorized access to your network. To change the password, log in to your router’s settings page, go to the Wireless Security section, and look for the WPA passphrase field. Type in your desired password, and click on “Save” or “Apply” to save the changes.
Security Settings
Security Settings are used to protect your network from hackers and other threats. The Arris router offers several different security protocols, including WPA2, WPA, and WEP. WPA2 is the most secure option, and is recommended for most users. To change the security settings, log in to your router’s settings page, go to the Wireless Security section, and select your desired security protocol from the dropdown menu.
Guest Network
A Guest Network allows you to give your guests access to your Wi-Fi network without giving them access to your main network. This is a great way to keep your network secure while still being hospitable to your guests. To set up a Guest Network, log in to your router’s settings page, go to the Wireless Settings section, and look for the Guest Network option. Follow the prompts to set up a separate network name and password for your guests.
Parental Controls
Parental Controls are used to restrict access to certain websites and applications. This is useful if you have children who use the internet and you want to limit their access to inappropriate content. To set up Parental Controls, log in to your router’s settings page, go to the Parental Controls section, and follow the prompts to set up rules for specific devices or users.
Quality of Service (QoS)
Quality of Service (QoS) is a feature that allows you to prioritize certain types of traffic on your network. This is useful if you have multiple devices on your network and want to ensure that certain devices, such as gaming consoles or video streaming devices, get the bandwidth they need. To set up QoS, log in to your router’s settings page, go to the Quality of Service section, and follow the prompts to prioritize specific types of traffic.
Port Forwarding
Port Forwarding is a feature that allows you to redirect incoming internet traffic to specific devices on your network. This is useful if you need to access certain applications or services on a device that is behind your router’s firewall. To set up Port Forwarding, log in to your router’s settings page, go to the Port Forwarding section, and follow the prompts to set up rules for specific devices or applications.
DHCP Settings
Dynamic Host Configuration Protocol (DHCP) is a protocol used by routers to assign IP addresses to devices on your network. DHCP Settings allow you to set the range of IP addresses that your router will use to assign to devices on your network. This is useful if you want to reserve certain IP addresses for specific devices, or if you want to limit the number of devices that can connect to your network. To set up DHCP Settings, log in to your router’s settings page, go to the DHCP section, and follow the prompts to set up your desired IP address range.
Firmware Update
Firmware is the software that runs on your router, and it is important to keep it up-to-date to ensure that your router is secure and functioning properly. Firmware updates can fix bugs, improve performance, and add new features to your router. To update the firmware on your router, log in to your router’s settings page, go to the Firmware Update section, and follow the prompts to download and install the latest firmware.
Wireless Channel
Wireless Channel refers to the frequency band that your router uses to transmit Wi-Fi signals. The Arris router supports both 2.4GHz and 5GHz frequencies, and it is important to choose the right channel to avoid interference from other devices. The 2.4GHz band is more crowded and prone to interference, while the 5GHz band is faster but has a shorter range. To change the Wireless Channel, log in to your router’s settings page, go to the Wireless Settings section, and select your desired channel from the dropdown menu.
FAQs
How do I access Arris router settings?
To access your Arris router settings, you will need to log in to the router’s web interface. Open a web browser and enter the IP address for your router (usually 192.168.0.1 or 192.168.1.1) in the address bar. Enter your login credentials (usually admin for both username and password) to access the router settings.
What is the default login password for Arris router?
The default login password for most Arris routers is “password” (without quotes). If that doesn’t work, try “admin” (without quotes) as both the username and password. If you still can’t log in, consult your router’s documentation or contact Arris support.
Where can I find the best Arris router settings?
The best Arris router settings will depend on your specific needs and network setup. It is recommended to consult Arris’s website for guides and documentation on how to optimize your router settings. Additionally, there are many online forums and communities where users share their recommended settings for Arris routers.
Can I change the wireless channel on my Arris router?
Yes, you can change the wireless channel on your Arris router to optimize your Wi-Fi signal. Log in to your router’s web interface and go to the Wireless Settings section. Look for the Wireless Channel option and select your desired channel from the dropdown menu.
What are the recommended security settings for my Arris router?
To ensure the security of your network, it is recommended to use WPA2 encryption, enable network name broadcasting, and change the default login password for your router. You can access these settings in the Security section of your router’s web interface.
Read More:
Safeguard your Network: How to install VPN on Verizon router in 8 easy steps – Compatible Gear
Verizon router Blinking White- Best 8 fixes – Compatible Gear
Boost Your Signal: Easy JOOWIN WiFi Extender Setup in 10 minutes – Compatible Gear
A Guide To The 4 Best Optimum Routers
How To Reset Xfinity Router: Step-By-Step Comprehensive Guide (2023)
Troubleshooting Xfinity Router Blinking Orange: 6 Reasons And Guaranteed Fixes
Arris SB8200 Detailed Review – Find out what’s the hype – Compatible Gear