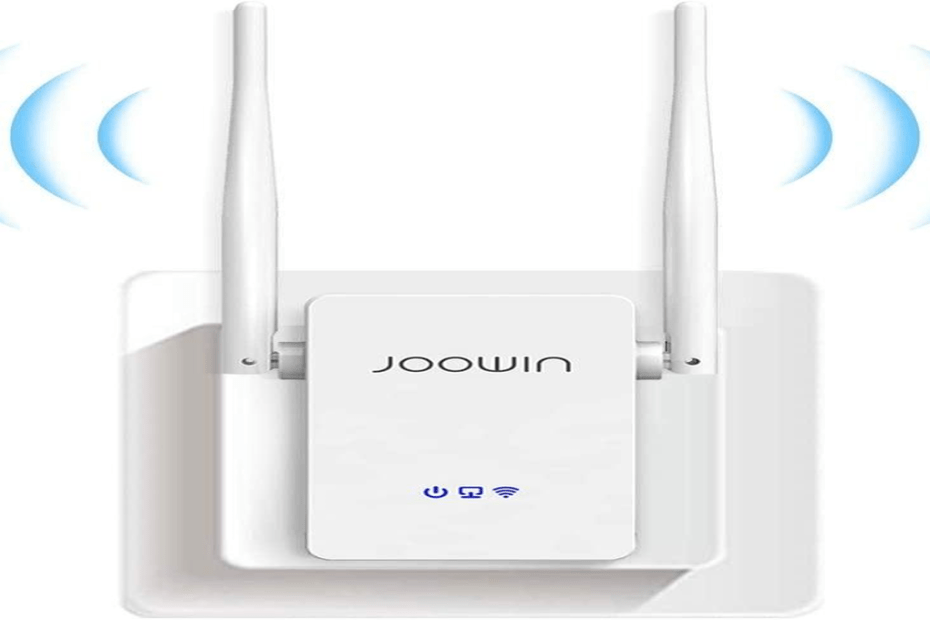
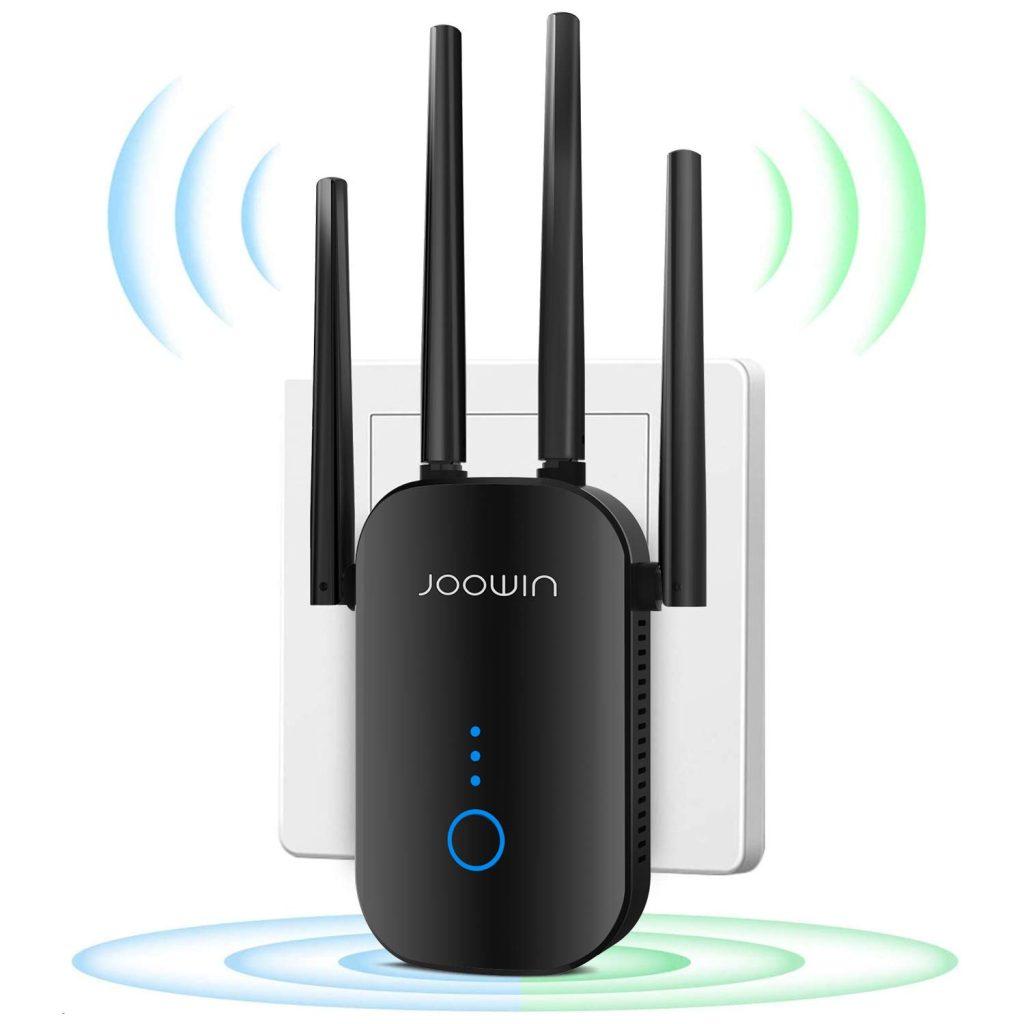
Setting up a WiFi extender can be a great way to boost the range and signal strength of your wireless network. If you’re looking to improve the range and signal strength of your wireless network, consider setting up a JOOWIN WiFi extender. With this device, you can enjoy faster and more reliable internet access throughout your home or office, even in areas where the signal may have been previously weak or inconsistent.
What is JOOWIN?
JOOWIN (Shenzhen JOOWIN E-Commerce Co., Ltd) is a Chinese company founded in 2019 that has made a name for itself in the world of network hardware. It specializes in producing a range of products including JOOWIN WiFi extenders, adapters, speakers, and headphones. Although relatively new to the router market, JOOWIN has quickly established itself as a brand that provides quality computer hardware on a budget without compromising on quality.
One of the most noteworthy aspects of JOOWIN’s products is their high performance. The company’s flagship products, such as the JW-WR768AC WiFi and JW-WR758AC repeaters, and the JW-957AX and JW-AX200-PRO WiFi adapters, offer fast and reliable connections that can help enhance your internet experience.
In particular, the JW-AX200-PRO WiFi adapter stands out with its impressive speed capabilities of up to 3000Mbps. This makes it a great option for demanding tasks such as online gaming, streaming high-definition content, and transferring large files.
Despite their impressive performance, JOOWIN’s products are also known for their affordability, making them an attractive option for those who want to enhance their network infrastructure without breaking the bank.
Overall, JOOWIN is a company that is committed to providing quality computer hardware at an affordable price, and its range of JOOWIN WiFi extenders, adapters, and other network hardware products is definitely worth considering if you’re looking to boost your internet performance.
Also Read: 4 Best Spectrum WiFi Extenders: Improve Your Internet Signal With These Top Picks
What to look for in a WiFi Extender?
When it comes to extending the range and coverage of your wireless network, a WiFi extender can be an effective solution. However, with so many options available on the market, it can be challenging to know what to look for in a WiFi extender. Here are some key factors to consider when choosing a WiFi extender:
- Compatibility: Before purchasing a WiFi extender, it’s important to ensure that it is compatible with your existing router. Most extenders work with any standard router, but it’s essential to check compatibility before making a purchase.
- Range and Coverage: Consider the range and coverage of the extender, which will depend on your home or office’s size and layout. The range and coverage of an extender will typically be stated in terms of square feet or meters. Look for an extender that can cover the area where you need to boost the signal.
- Speed: Check the speed of the WiFi extender. The speed of the extender is essential to ensure that you don’t experience any lag or slow connections. Look for an extender that can support the same speed as your router or faster. The speed of the extender will be stated in terms of Mbps (megabits per second).
- Frequency Band: Consider the frequency band of the extender. Most WiFi extenders work on either the 2.4GHz or 5GHz frequency band. The 2.4GHz frequency band offers more extensive coverage but slower speeds, while the 5GHz frequency band offers faster speeds but less coverage. Choose an extender that can support the same frequency as your router or both.
- Antennas: The number and type of antennas can have a significant impact on the range and coverage of the extender. Look for an extender with multiple antennas that can be adjusted to maximize signal strength.
- Ease of Setup: Look for an extender that is easy to set up and configure. Some extenders offer a simple plug-and-play setup, while others may require more advanced configuration. Choose an extender that fits your technical expertise and comfort level.
- Security: Make sure the WiFi extender has proper security features such as encryption, guest network support, and password protection. These features will ensure that your network is protected against unauthorized access.
- Price: Finally, consider the price of the WiFi extender. The cost of the extender will depend on its features and capabilities. Look for an extender that fits your budget while still offering the features you need.
By considering these factors, you can choose a WiFi extender that meets your needs and enhances your internet performance.
Also read: How to Setup Your MSRM WiFi Extender in Under 10 Minutes-A Comprehensive Guide
JOOWIN WiFi Extender Setup Guide
Follow these steps to set up your JOOWIN WiFi Extender in under 10 minutes:-
- Step 1: Choose Repeater Mode. To get started with setting up your JOOWIN WiFi extender, the first step is to choose the “Repeater Mode.” This mode is essential because it allows the extender to receive the existing Wi-Fi signal from your router and amplify it to extend its range and coverage. You can find the mode selector switch on the side of the extender device, and it usually has three options: Access Point, Router, and Repeater. Toggle the mode selector switch to the “Repeater” position, and you’re ready to proceed with the setup process.
- Step 2: Turn on the Extender. After selecting the appropriate mode, the next step in setting up your JOOWIN WiFi extender is to plug it into a working wall socket and switch it on. Once you have found a suitable location for the extender, insert the extender’s power cord into the wall socket, and then connect the other end of the cable to the extender’s power port. After this, locate the power button on the side of the device and press and hold it for a few seconds until all the lights on the device light up.
It is important to note that the lights on the JOOWIN WiFi extender serve as indicators to help you monitor the status of the device. The lights can show you whether the device is properly connected to your network or if there is a problem with the extender Once all the lights on the extender are on, it means the device is receiving power and is ready to be configured - Step 3: Connect to the Extender. Once you have powered on your JOOWIN WiFi extender and all the lights are up, it’s recommended that you wait for about 60 seconds before attempting to connect to the device. This will give the extender enough time to boot up and establish a connection with your router. After waiting for a minute, you can now connect your device (phone, tablet, or computer) to the JOOWIN WiFi extender’s network. To do this, open your device’s Wi-Fi settings and look for the network name “JOOWIN-XXX-2G” or “JOOWIN-XXX-5G” depending on the extender’s capabilities. Select the network that corresponds to the frequency band you want to use (2.4 GHz or 5 GHz).
- Step 4: Set the password on the Management page. To access the JOOWIN WiFi extender’s web interface and configure its settings, you’ll need to open a web browser on your smartphone or computer. We recommend using a modern and secure browser such as Google Chrome or Mozilla Firefox. Once you have opened your browser, type in the default IP address of the extender in the address field. In this case, the default IP address for JOOWIN WiFi extenders is usually “192.168.10.1”. It’s important to note that this IP address may vary depending on the model and brand of your extender, so be sure to consult the user manual for the correct IP address.
After entering the IP address, you’ll be prompted to enter the default password for the extender’s web interface. The default password for JOOWIN WiFi extenders is usually “admin”. Once you have entered the password, click on the “Set Password” button to access the extender’s web interface. In the web interface, you can configure various settings for your JOOWIN WiFi extender, such as the network name, password, encryption type, and more. It’s important to configure these settings properly to ensure that your extender is working optimally and providing the best possible Wi-Fi coverage and performance. - Step 5: Select the WiFi network. Once you have accessed the JOOWIN WiFi extender’s web interface, it will automatically scan the available Wi-Fi networks in your area. From the list of available networks, you should select the Wi-Fi network that you want to extend. Once you have selected the Wi-Fi network, you will be prompted to enter the Wi-Fi password. This is necessary for the extender to connect to your Wi-Fi network and extend its coverage. After entering the Wi-Fi password, you should click on the “Save Settings” button to save your changes. The extender will now connect to your Wi-Fi network and start to extend its coverage, providing better Wi-Fi coverage and performance in areas where the signal was previously weak or non-existent.
- Step 6: Setup complete. After completing the setup process, the JOOWIN WiFi extender will reboot automatically. You can then reconnect to your new extender Wi-Fi, which will have the same password as your original Wi-Fi network. Simply look for either “XXX-2G” or “XXX-5G” in your Wi-Fi list and connect using your original Wi-Fi password.
Conclusion
Congratulations! You have successfully set up your JOOWIN WiFi extender and improved the coverage and performance of your wireless network. With the extender properly configured, you can enjoy faster and more reliable internet access in areas of your home or office where the signal was previously weak or inconsistent. Remember to place your extender in a central location for optimal performance and to regularly update the firmware for the best possible experience. If you have any questions or issues, refer to the user manual or contact JOOWIN’s customer support for assistance.